Master Photo Stitching: Your Guide to Seamless Panoramas
How to Stitch Photos Together for Stunning Results
Ever wondered how to stitch photos together to create breathtaking panoramas or expansive digital documents? Whether you're aiming to capture a sweeping landscape, digitize an oversized map, or even create a fun "clone" effect with a single person appearing multiple times in one frame, photo stitching is a powerful technique. This comprehensive guide will walk you through the process, highlight key considerations, and show you how to stitch photos together like a pro.
Why Stitch Photos? The Power of the Composite Image
The limitations of a single camera lens or scanner bed are often apparent when trying to capture a grand scene or a large physical item. A single shot might miss crucial details, or force you to zoom out so far that resolution is compromised. This is where photo stitching comes in. By combining multiple individual shots that have overlapping areas, you can create a single, high-resolution composite image that far surpasses what's possible with a single capture. This technique allows for:
Ultra-High Resolution: Imagine zooming into a panoramic landscape and still seeing individual leaves on distant trees.
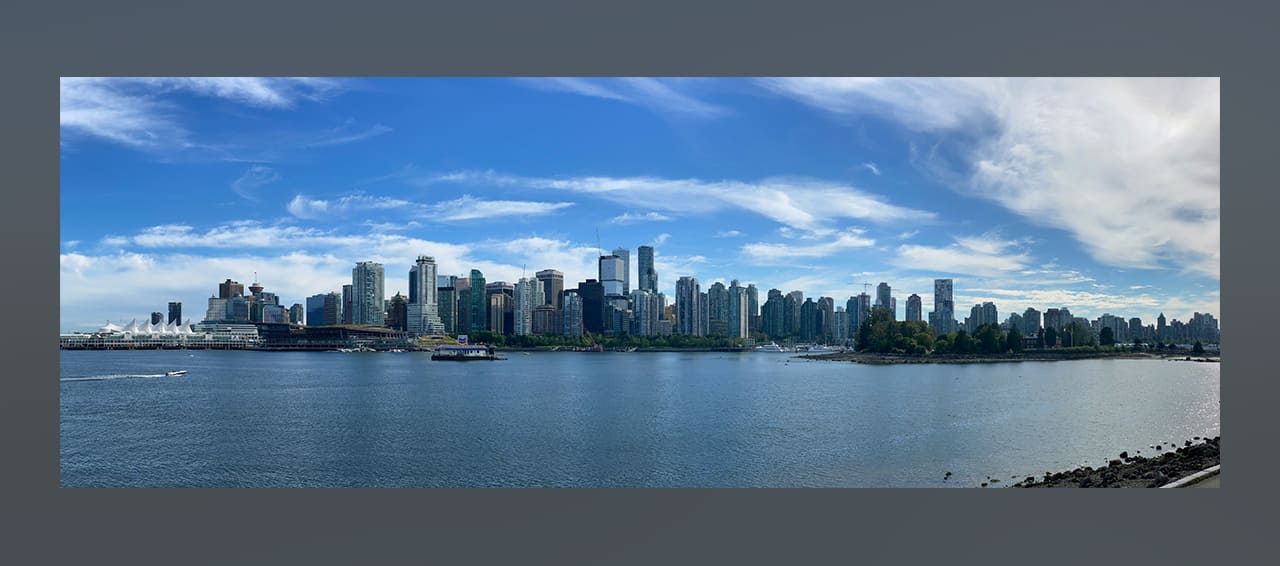
Wider Fields of View: Capture entire mountain ranges, city skylines, or room interiors that are impossible to fit into one frame.
Digitizing Oversized Materials: Scan large documents, artwork, or maps in sections and piece them together seamlessly.
Creative Effects: Explore unique artistic expressions like the "clone" effect, where the same person appears multiple times in one image.
Essential Steps: How Do You Stitch Photos Together Effectively?
The process of stitching photos involves capturing individual images and then using specialized software to blend them into a coherent whole. Here's a breakdown of the key steps:
1. Capturing Your Source Photos: Preparation is Key:
Before you even think about stitching, the quality of your source photos is paramount. This is where you lay the foundation for a successful panorama.
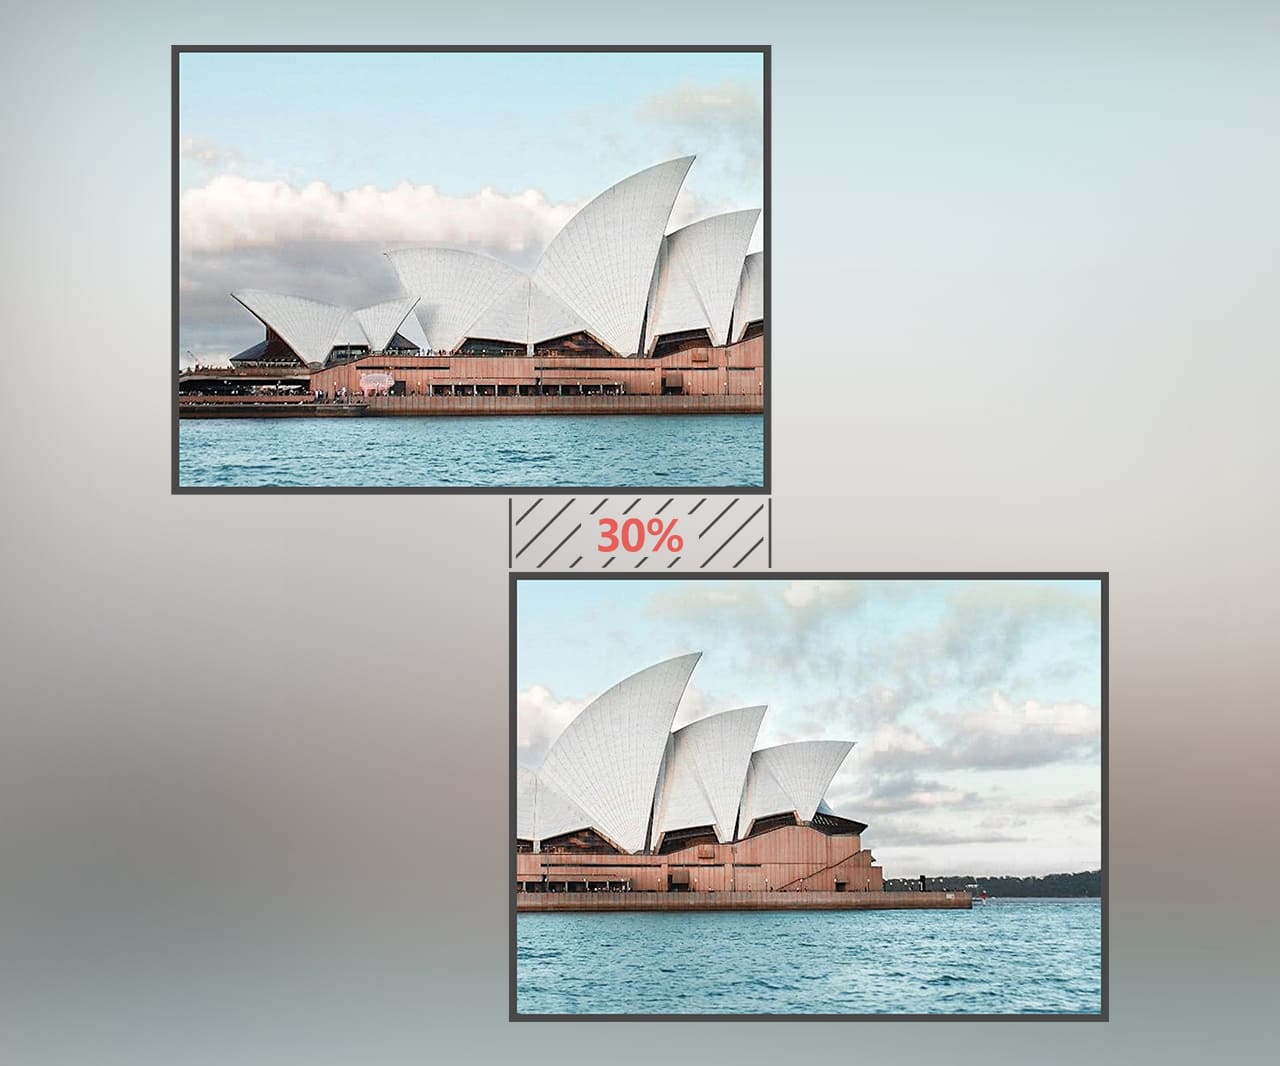
Overlap Generously: This is the golden rule. Ensure each consecutive photo overlaps the previous one by at least 30-50%. This overlap provides ample "feature points" for the stitching software to identify and align.
Maintain Consistent Exposure (Mostly): While advanced software like Panorama - Photo Stitcher can automatically adjust exposure, striving for consistent lighting across your shots is generally good practice. If your software lacks auto-exposure correction, manual mode is crucial.
Keep Your Camera Level: Minimize vertical shifts between shots. A tripod is ideal for perfect alignment, but if shooting handheld, rotate your body around your axis rather than panning the camera alone.
Avoid Moving Objects: Fast-moving objects (cars, people, pets) in your overlapping areas can lead to "ghosting" or blurry artifacts in the final stitch. Try to shoot when the scene is relatively still.
Choose the Right Focal Length: While wide-angle lenses capture more, they can introduce perspective distortion. For subjects with straight lines (like buildings), a medium telephoto lens often yields better results by minimizing distortion.
2. Choosing Your Stitching Software: What Do I Need?
Once you have your meticulously captured photos, you'll need the right tool. While some basic photo editors offer simple stitching, dedicated panorama software provides superior results, especially for complex scenarios.
For robust, high-quality results, we recommend a specialized image stitching software like Panorama - Photo Stitcher. It offers advanced features such as automatic exposure correction, non-sequential photo selection, and high success rates, simplifying the process of how can I stitch photos together.
3. The Stitching Process: How Do I Stitch Photos Together in Software?
The exact steps will vary slightly depending on your chosen software, but the general workflow is as follows:
1.Import Your Photos: Open your selected stitching application and import all the individual photos you wish to combine.
2.Initiate Stitching: Most software will have a clear "Stitch," "Merge," or "Panorama" button. Click this to begin the automated process.
3.Review and Export: The software will analyze your photos, identify common points, and generate the composite image. Review the result for any anomalies. If satisfied, export your high-resolution panorama. Advanced tools often preserve the full clarity of your original images.
Advanced Stitching: How to Stitch Two Photos Together (and More!)
While the general principles apply, specific scenarios sometimes require extra thought:
Stitching Only Two Photos: If you only need how to stitch two photos together, ensure ample overlap and strong, unique feature points in the shared area. The fewer photos, the more critical the overlap is.
Digitizing Large Artwork: For how can I stitch two photos together for a large painting, ensure consistent lighting across your entire setup to avoid visible light/dark transitions in the final composite.
Creating "Clone" Effects: When wondering how do I stitch two photos together to create a clone effect, ensure your camera is perfectly still (use a tripod!) and your subject moves completely between each shot. The background must remain identical in all frames.
Troubleshooting Common Issues
Ghosting or Blurring: Often caused by moving objects in overlapping areas, or insufficient overlap leading to poor alignment.
Wavy Lines or Distortion: Can result from severe perspective distortion (e.g., shooting too close with a wide-angle lens, especially for architectural elements) or insufficient feature points in uniform areas (like clear skies).
Stitching Failure: Typically happens when there are too few matching feature points, or the images are too dissimilar (e.g., trying to stitch photos taken too far apart or with drastically different lighting).
Ready to Create Your Own Masterpieces?
Learning how to stitch photos together opens up a world of photographic possibilities. From breathtaking landscapes to practical document digitization and creative artistic expressions, the ability to combine images is a valuable skill. Start experimenting with your photos today! For a seamless and powerful stitching experience, explore our Panorama - Photo Stitcher application page. Discover more photography tips and tricks on our blog.
External Links:
Learn more about photographic perspective distortion on Wikipedia.
Explore advanced focus stacking techniques for maximizing sharpness.